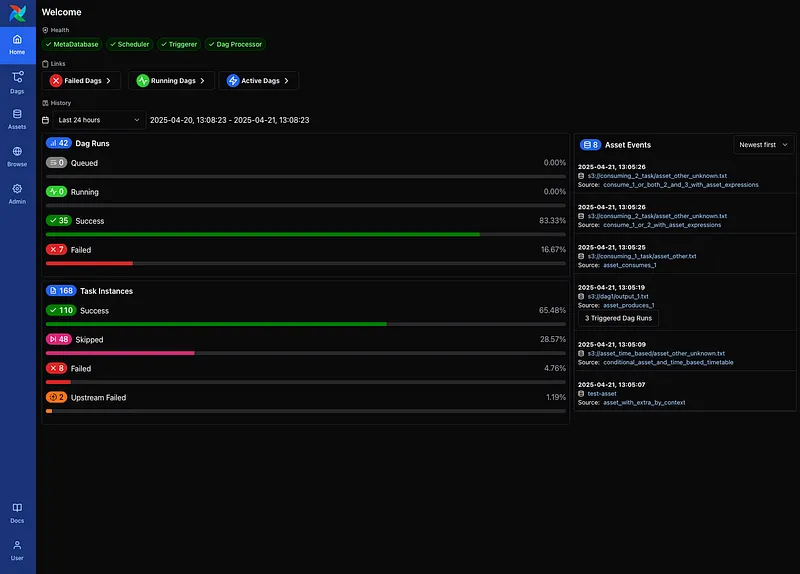
In this blog post, I’ll walk you through how I set up Apache Airflow on my home server using Docker Compose. My goal was to create a personal automation environment where I can run and schedule custom workflows daily.
My Setup
Before diving into the steps, here’s a quick overview of the machine I used:
- Model: Dell OptiPlex 9020
- CPU: Intel i5 (4th Gen)
- RAM: 8GB
- Storage: 250GB SSD
- OS: Linux Mint (replaced original Windows installation)
Getting Started
The Airflow team officially recommends using Docker Compose for lightweight production use-cases. It simplifies service management, container isolation, and scaling.
I followed the official documentation here:
👉 Running Airflow in Docker with Compose
Step 1: Download the Official Docker Compose File
First, I downloaded the official docker-compose.yaml file:
curl -LfO ‘https://airflow.apache.org/docs/apache-airflow/3.0.2/docker-compose.yaml’
This file defines how different Airflow services (like the scheduler, webserver, and workers) should be run in containers.
Step 2: Create a .env File and Set AIRFLOW_UID
In the same directory as the docker-compose.yaml, I created a .env file and added this line:
AIRFLOW_UID=1000
When running Docker containers, especially with volume mounts (e.g., for DAGs, logs, or plugins), file permissions can become an issue. AIRFLOW_UID specifies which user ID should be used inside the container to run Airflow processes.
By default, the Airflow Docker image runs as a non-root user (for security). Setting AIRFLOW_UID to match your host user’s UID ensures that the container and your file system work together without permission conflicts.
🔍 You can find your current UID by running:*id -u*
If you incorrectly mention your UID, you might run into permission errors with folders like logs/ or dags/.
Step 3: Add Custom Python Dependencies
The official image is great, but if you need to install additional Python packages (like requests, pandas, or any Airflow providers), you’ll want to customize the image using a Dockerfile.
First, I created a Dockerfile:
FROM apache/airflow.0.2
ADD requirements.txt .
RUN pip install apache-airflow==3.0.2 -r requirements.txt
This builds on top of the official image and installs any dependencies listed in requirements.txt.
📚 Reference: Adding Dependencies in Docker
Then, I modified the docker-compose.yaml to build from my Dockerfile instead of pulling the default image.
Replace this line (around line 52):
image: ${AIRFLOW_IMAGE_NAME:-apache/airflow.0.2}
With:
build: .
Step 4: Create requirements.txt
In the same folder, I created a requirements.txt file and added any Python libraries I wanted. For example:
requests
pandas
You can list any PyPI packages you need for your DAGs here.
Your directory structure would look something like this now:
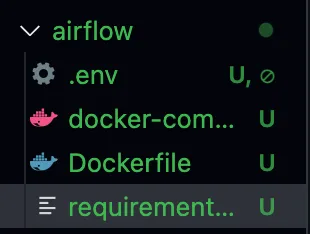
Directory Structure before running the containers
Step 5: Build the Docker Image
Finally, I ran:
docker compose build
This builds a new Docker image based on your Dockerfile and installs your listed dependencies.
Step 6: Run the containers
Run the following command to start Apache Airflow and run the containers in the background:
docker compose up -d
Now, your directory structure should look something like this:
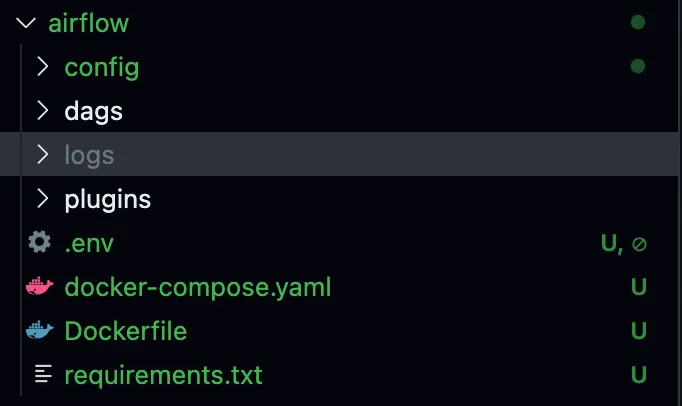
Directory Structure after running the containers
Then visit http://localhost:8080 in your browser and login with username airflow and password airflow .
With that, you have successfully setup Apache Airflow on your home server 🎉🥳.